|
Messerschmitt
Bf 109G-6
Hasegawa
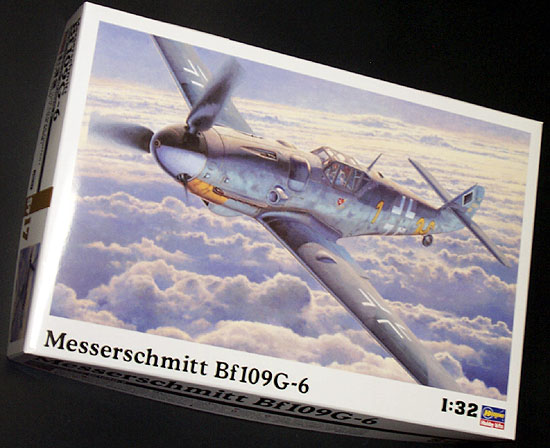

Hasegawa's 1/32 scale Bf 109G-6 may be ordered online from Squadron.com
S
u m m a r y
|
| Catalogue Number: |
ST17 |
| Scale: |
1/32 |
| Contents and Media: |
107 parts in grey styrene; 11 parts in clear styrene;
4 polythene caps |
| Price: |
USD$33.96 from
Squadron.com |
| Review Type: |
First Look |
| Advantages: |
Accurate dimensions and shape;
excellent surface features; good detail; simple parts breakdown and
construction; intelligent engineering; parts for G-5 included; plenty of
options; many minor improvements over 1/48 scale kits. |
| Disadvantages: |
Some
scraping, trimming and filling of kit parts required. |
| Recommendation: |
Highly Recommended |
Reviewed by
Brett Green
Hasegawa has confirmed its re-entry to the 1/32 scale market with
their all-new Messerschmitt Bf 109G-6.
Early rumours suggested that this model may be a scaled-up version of
Hasegawa's 1/48 Bf 109G-6. This is not the case - the 1/32 scale
kit is totally new. In fact, with this release, Hasegawa has addressed
many of the criticisms of the smaller kit.
What's In The Box?
Hasegawa's 1/32 scale Messerschmitt Bf 109G-6 is packed in a large
sturdy box. The sprues contain 107 parts in grey styrene, 11 parts in
clear and 4 polythene caps. Hasegawa persist in packaging all the grey
sprues in a single bag. As a result, some of the larger parts were
scuffed on arrival. Clear parts are packed separately with the decals.
Nine parts are marked "not for use", but the resourceful modeller may
find a use for some of these options.
Although the model is labelled a Bf 109G-6, most of the parts required to
build a G-5 variant are also present. Options include two styles of
upper cowl panel (pressed metal gun troughs and insert gun troughs);
starboard side gun bulge with compressor housing for the G-5 variant;
windscreen with air scoop or flare port; Galland Panzer or standard
steel head armour; 2 x 20mm cannon gondola; 300 litre drop tank; plus
positionable slats and flaps. A pilot figure is also included.
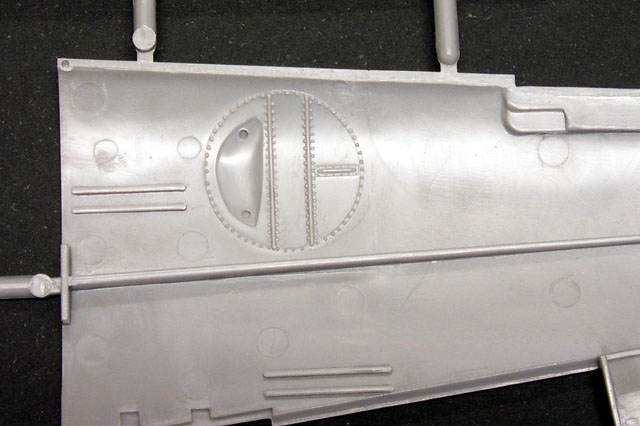
Surface detail is simply superb. Panel lines are crisply engraved,
hinges are beautifully depicted and the fabric surfaces are worthy of
special mention. The subtle fabric tape is topped with delicate
stitching detail - really first-rate! Rivet detail is restrained, but
adds an air of authenticity where it is present on the lower wing,
radiator housing and tailplanes.
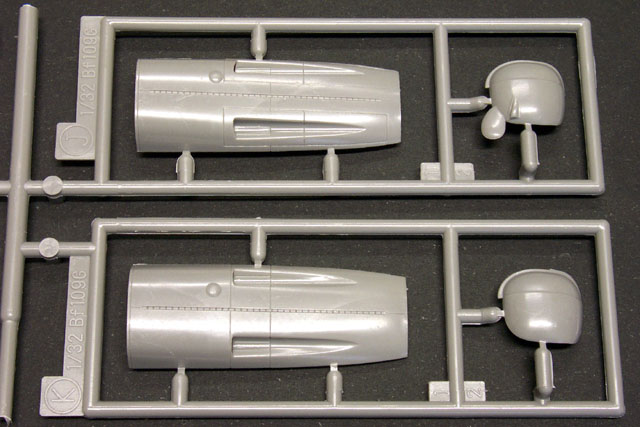
Fuselage and Cockpit
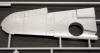
The fuselage is supplied in four main parts. The tail is separate aft
of fuselage panel 7. This will simplify tooling for the tall-tail
versions of the Gustav. A stout rectangular tongue moulded onto the
fuselage section of the tail will ensure a positive join with the main
fuselage halves.
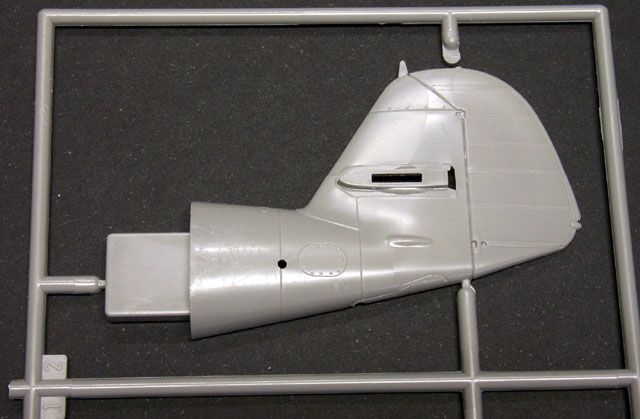
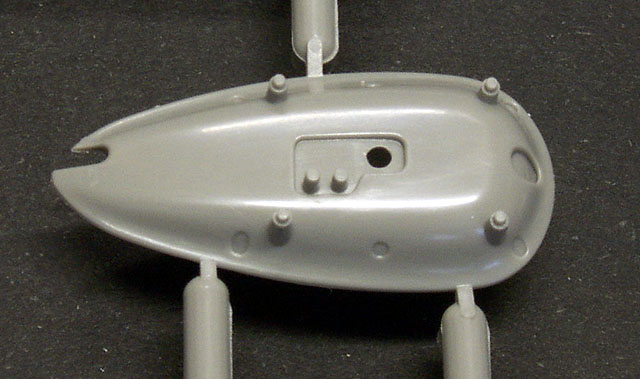
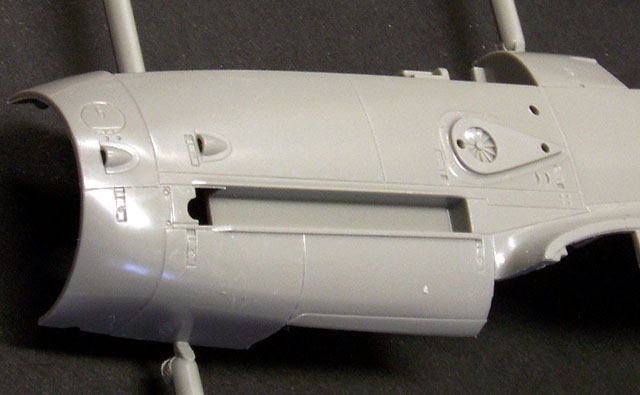
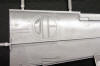
The scoops on the forward cowl are moulded open. This is an
impressive piece of work. The two scoops on each cowl side are
moulded staggered. There seem to be a number of possible configurations
for these scoops on the full-size Bf 109G-6, ranging from a noticeable
horizontal stagger to perfectly in line.
The port fuselage side includes two "pips" below the cockpit. These
are the mounts for an umbrella that was sometimes used in tropical
environs. Although these were not installed on most non-tropical Gustavs,
check your references carefully because they may have occasionally been
present (BTW, a tropical filter is not included in this kit, but I
reckon we'll see one in a later release).
Also, in common with the 1/48 scale kit, two small hatches must be
filled and sanded on the starboard side fuselage. These were filler
hatches for the GM1 and MW50 injection system employed on later variants
(although they will be applicable for an early G-14 with framed
hood and standard tail).
Click the thumbnails below
to view larger images
|
|
|
|
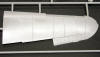
Note the hollow-moulded scoops, and their staggered configuration
|
|

|
|
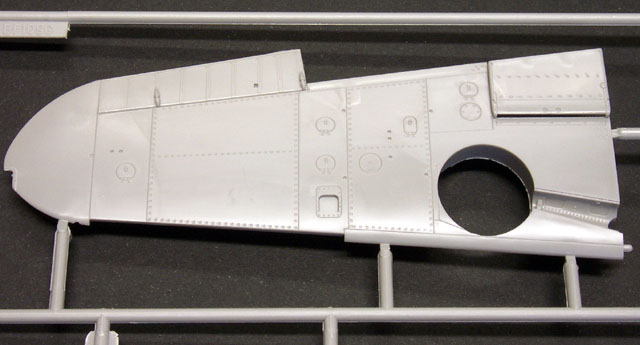
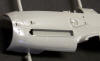
Port-Side main fuselage part
|
|
|
|
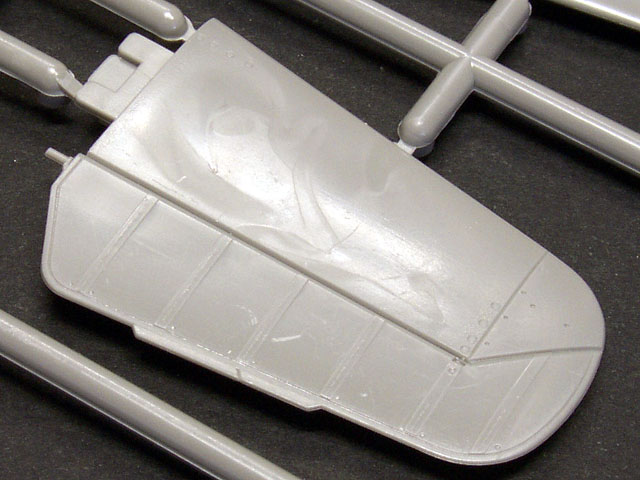
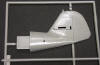
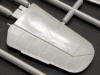
Port-side tail. Note the stout locating tongue. This slots into two square holes to form a solid join.
|
|
|
|
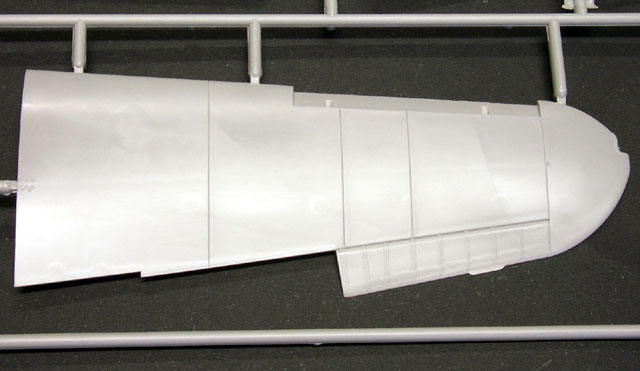
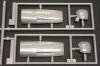
Alternate top cowls and starboard-side bulges for the G-5 (top) and G-6.
|
|
|
The interior of the supercharger intake is free of locator pins,
giving a clear view through to the moulded supercharger fan detail on
the fuselage side. Nice touch!
The exhaust manifolds and deflectors assemble in the same way as the
1/48 scale kit. The exhaust stacks are not hollow - neither are the
machine gun barrels. Drilling these out in 1/32 scale should not present
any great challenges.
A simple horseshoe oil cooler is provided for the front of the
fuselage. This locks in place with a twist.
The cockpit is quite conventional. The seat pan is supplied as a
separate part. The seat back was not usually installed in these later
109s, and the kit reflects this configuration. Some detail is moulded
onto the sidewalls, and other features including the quadrants are
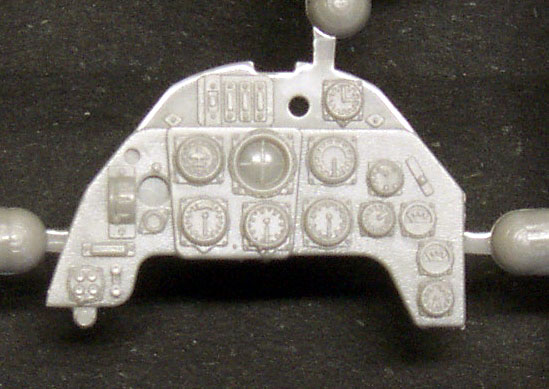
separate parts. The instrument panel is a single plastic part with
raised detail. A decal is supplied as an alternative to painting. One
very nice touch is the inclusion of a door for the small stowage hatch
behind the pilot's head. Not only does this depict an oft-ignored
feature, but it also helps to hide a tricky join line!
Click the thumbnails below
to view larger images
|
|

|
|
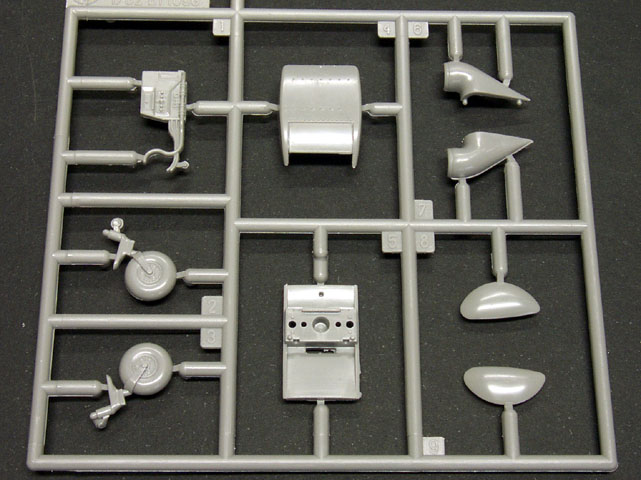
The instrument panel
|
|

|
|
The lower centre wing panel. This will house the wing spar.
|
|
|
|
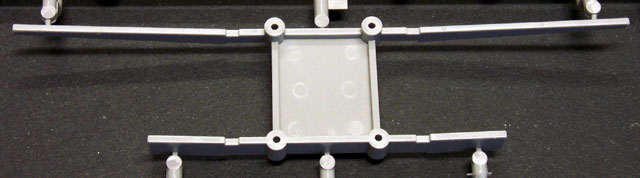
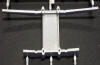
The wing spar. The wings will slot onto the arms, ensuring perfect dihedral and a tight fit at the wing root.
|
|
|
Perhaps the most significant engineering feature in this kit is the
mid-lower fuselage panel. The panel represents the centre section of the
wing, and it includes a stout, "H" section wing spar. This should ensure
perfect dihedral and a good fit at the wing root.
Wings and Tailplanes
The wings feature positionable flaps and slats. The flaps and slats
have locating tabs to improve strength and ensure even alignment. This
is another improvement over the 1/48 scale kit.
The wheel wells display some nice rivet and structural detail. They
even have the appropriate "dent" to correspond with the bump on top of
the wing. The bump is still a separate part though, and two locating
holes protrude into the wheel well. These should be filled and sanded
before the wing halves are joined.
Click the thumbnails below
to view larger images
|
|
|
|
Fabric surfaces feature subtle tape and stitching detail
|
|
|
|
Upper wing
|
|
|
|
The wheel well features nice strutural and rivet detail.
|
|
|
|
The round wheel well must be trimmed to the correct profile. The round well is appropriate for the Bf 109F.
|
|
|
|
Minor parts including the upper wing bulges.
|
|
|
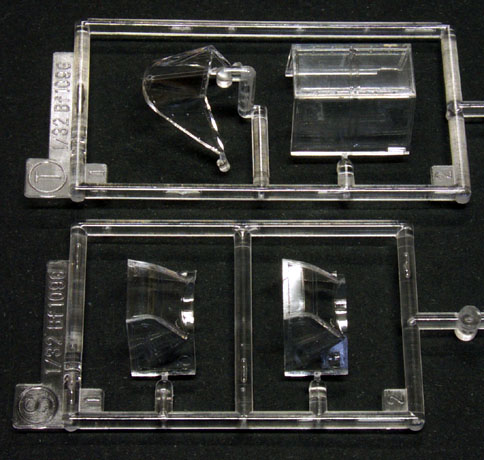
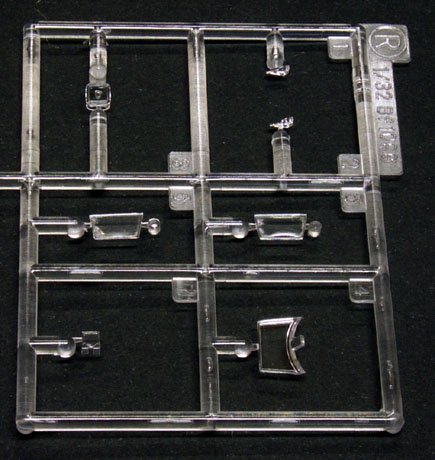
The glass insulator for the Morane mast is provided as a clear part.
This is nice attention to detail. The perspex covers for the navigation
lights are clear parts too.
Bits and Pieces
The centre section of the canopy has a ridge on the starboard lower
edge. This is to help locate the canopy in the open position - another
difficult task on the 1/48 scale kit.
Click the thumbnails below
to view larger images
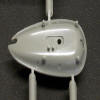
The landing gear is nicely detailed, even including moulded-on brake
lines.
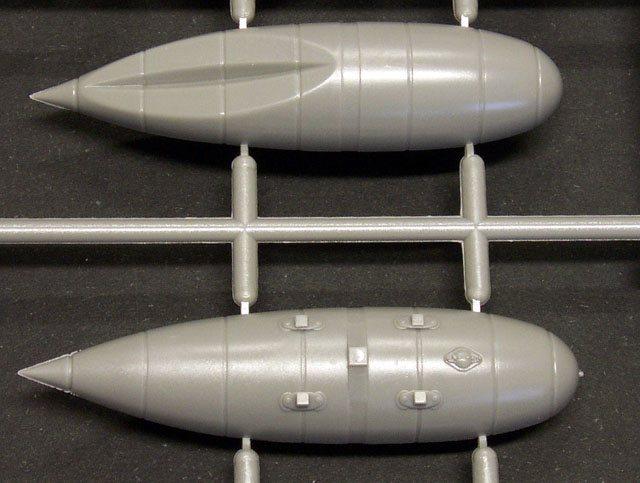
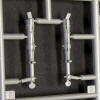
Hasegawa have got the profile of the drop-tank rack correct. This
shape has eluded kit manufacturers for decades! The drop tank and
gondolas look good too.
Click the thumbnails below
to view larger images
|
|
|
|
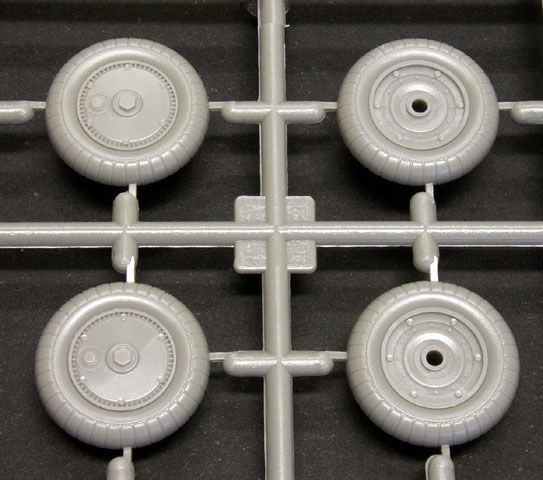
Nicely-shaped drop-tank mount. The circles are not ejector pin marks - they are accurate surface details!
|
|
|
|
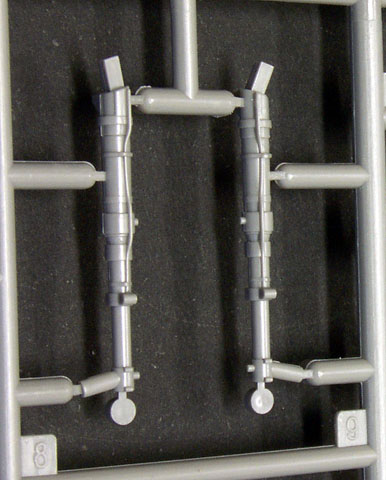
The landing gear legs have brake lines moulded on.
|
|
|
|
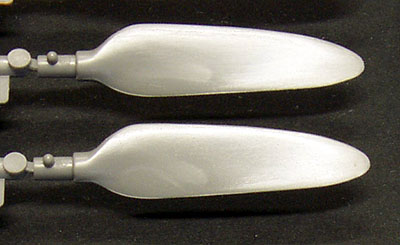
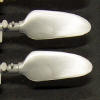
Propeller blade profile
|
|
|
|
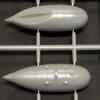
300 litre dop tank
|
|

|
|
Main wheels feature delicate detail
|
|
|
The oil cooler housing on the real aircraft had a small supporting
strut in the centre of the forward air intake. The kit oil cooler
housing has a locating hole in the correct spot, but the strut itself is
nowhere to be found. Stretched sprue or fine rod will do the job.
Instructions are typical of Hasegawa. Construction is called out in
14 steps by the use of exploded view diagrams. Gunze paints are quoted
throughout the instructions.
Markings are supplied for two machines in RLM 74, 75 and 76 - Erich
Hartmann and Gerhard Barkhorn.
Dimensions and Profile
Comparison with Tom Seay's and John Beaman's drawings suggest that
the fuselage is the correct length to within 1 millimetre. The miniscule
discrepancy seems to be directly in front of the
windscreen. As far as I am concerned, that is well within acceptable
parameters!
Wing dimensions are spot on.
One other area of concern with the 1/48 scale kit was the shape of
the spinner. The spinner in this 1/32 scale kit looks quite accurate.
.
It is interesting to note Hasegawa's and Tamiya's different
approaches to their latest WWII 1/32 scale aircraft models.
Tamiya has taken the hi-tech path. Their recent A6M5 Zero bristles
with springs, screws, struts, operating metal hinges, wire, vinyl masks
and much more. The cockpit is complete. The undercarriage retracts using
a specially supplied tool. The Tamiya 1/32 scale Zero is an
astounding kit. However, this level of detail comes at a price -
both in dollar terms and also requiring a reasonable degree of
confidence.
Hasegawa has taken a more modest approach. Their 1/32 scale
Messerschmitt Bf 109 is 100% styrene plastic. There are plenty of
options offered in the kit, but nothing too fancy. No special tools or skills are required.
Detail is more than adequate, but those who want to superdetail the kit
will not have to wait long for the inevitable flood of aftermarket
accessories.
|
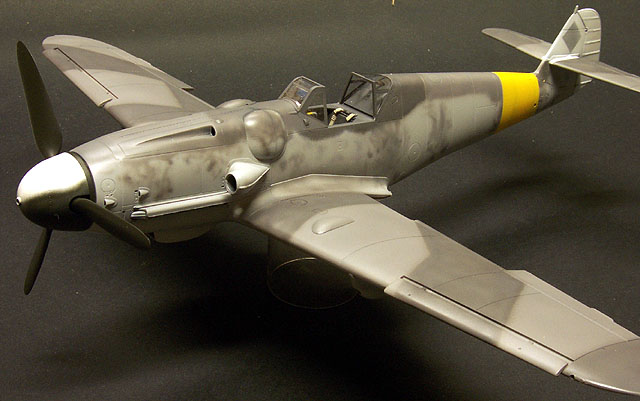
|
|
Hasegawa's 1/32 scale Bf 109G-6 in Progress. Full construction
article will follow in the coming weeks |
The relative simplicity and reasonable price of Hasegawa's 1/32 scale
Bf 109G-6 makes it appropriate for beginner modellers, but its accuracy
and potential for extra detail will ensure its popularity with plastic connoisseurs
too.
Furthermore, Hasegawa has made a genuine effort to correct some of
the shortcomings of their 1/48 scale Bf 109s with their new 1/32 scale
Gustav.
In my opinion, Hasegawa's 1/32 scale Messerschmitt Bf 109G-6
looks terrific, should be fun to build and represents great value for
money.
Highly Recommended.
Thanks to Jerry Crandall
for feedback on accuracy and comments on construction of the kit.
Review and Images Copyright © 2001 by Brett
Green
Page Created 20 December, 2001
Last updated 22 July, 2003
Back to HyperScale Main Page
Back to Reviews Page
|
 Home | What's
New | Features
| Gallery |
Reviews | Reference
| Forum
| Search
Home | What's
New | Features
| Gallery |
Reviews | Reference
| Forum
| Search