Home | What's
New | Features
| Gallery |
Reviews | Reference
| Forum
| Search
Home | What's
New | Features
| Gallery |
Reviews | Reference
| Forum
| Search
|
|
|
Revell Monogram Do 217E First Impressions
Text
and modelbuild by Andreas Beck
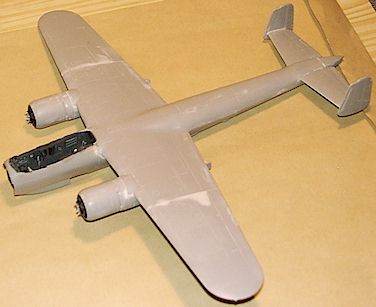
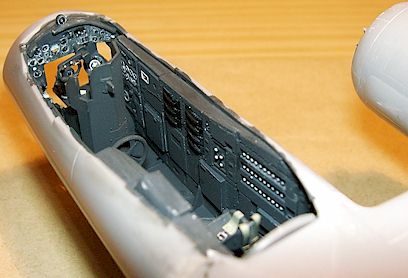
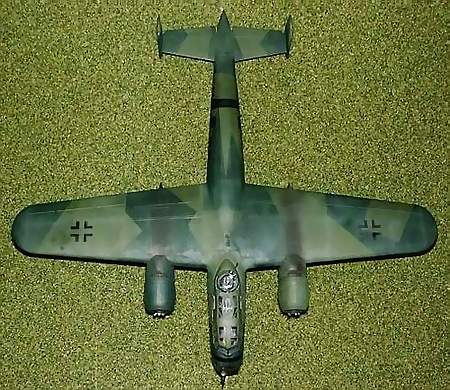
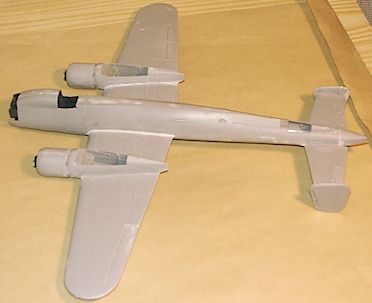
Fuselage: The fuselage is split up like the Koster vacform kit with two lower halves. The top incorporates the top horizontal tail and the wings to the outer engines. Two of my three samples were misformed due to early removal from tooling! If you have this problem, be sure to correct the big part with boiling water. The top skinning of the wing must be absolutely horizontal - do it now before starting gluing. I strongly recommend gluing on the outer top wings now - do not follow the instructions in this matter! Now the lower fuselage halves may be glued with the cockpit area left open for later installation. Most examples will show that the open top of the fuselage is more narrow than the top part. Measure out and build in spares so that the top aligns correctly. Consequences for wing mounting.. In this area the fuselage will be a bit too broad. It will push out the wings and bring them into a positive v-adheral. This MUST be avoided. Two ways:
Missing Details: Signal pistol opening front right, first aid hatch (left), opening for antenna(?) (left) at the Balkenkreuz (forward top bar).
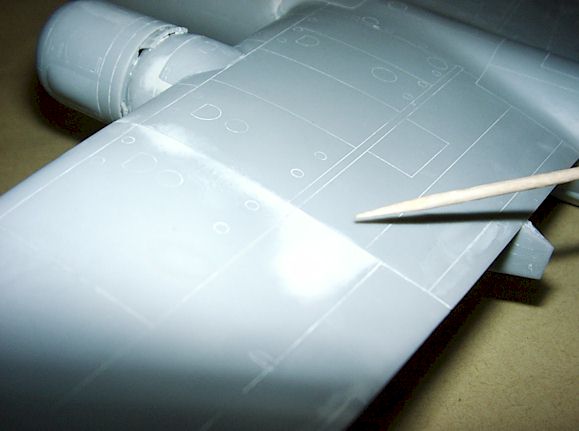
Wings: Follow my suggestions as described earlier.
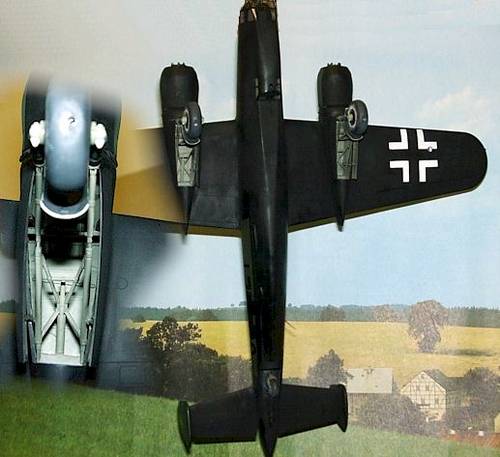
On photos on the real thing taken from below/front, you can see through between ailerons and wing!
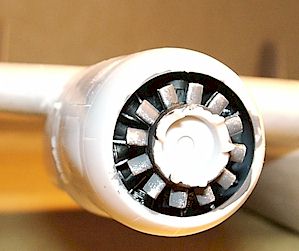
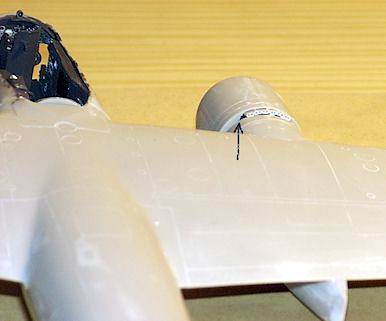
Propellers and Spinners: Propeller blades have nearly the correct outline. Diameter is okay but the cranking/twist is not pronounced enough (don´t use blades from Ju88-BMW801 though - they were different). The holes in the spinner for the propeller blades are a bit too big.
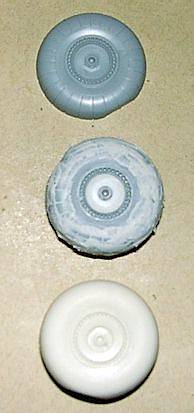
Undercarriage: First glue the main struts (for the wheels) into 90° position to all three main datum lines (axis) of the plane and let them dry. Retraction devices should be added after that. Struts okay, hydraulic lines should be added.
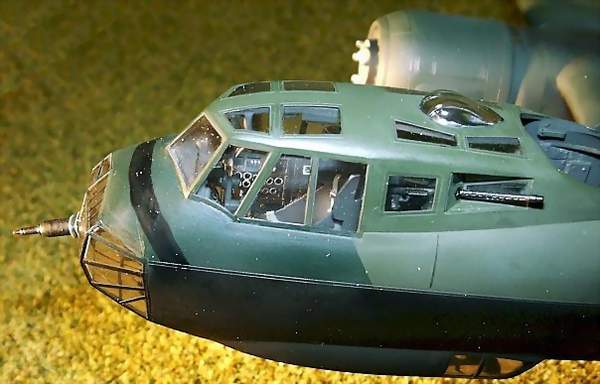
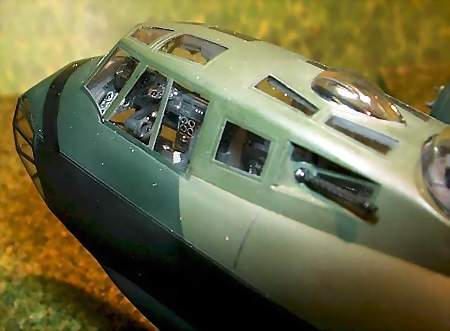
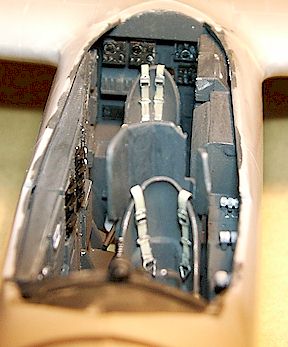
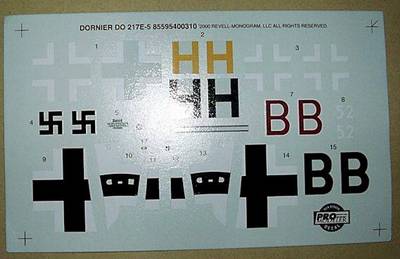
Armament: Missing are MG FF or MG 15 for nose glazing. Some planes also wore fixed MG151 in the bottom (missing). The visor guides inside the cockpit from rests of decals cut-out to size and attached
There exists an alternative sprue for an early E with long tail and MG FF. Look for the Koster arms!
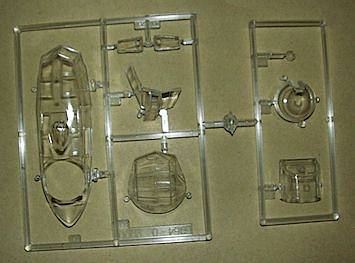
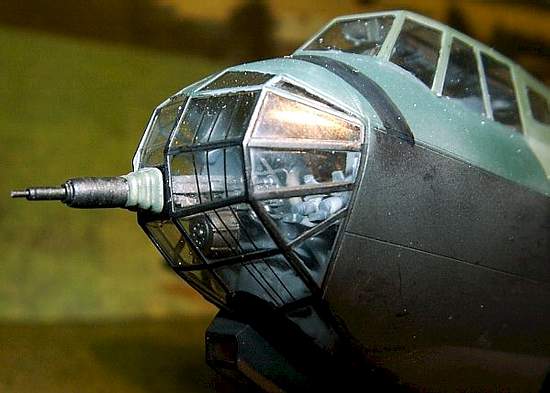
Canopy / Clear Parts: Only minor filling is required at the top of the glass nose and under the windshield; however the bottom-aft gun position needs a lot at the end (too wide-nearly 1mm each side!)
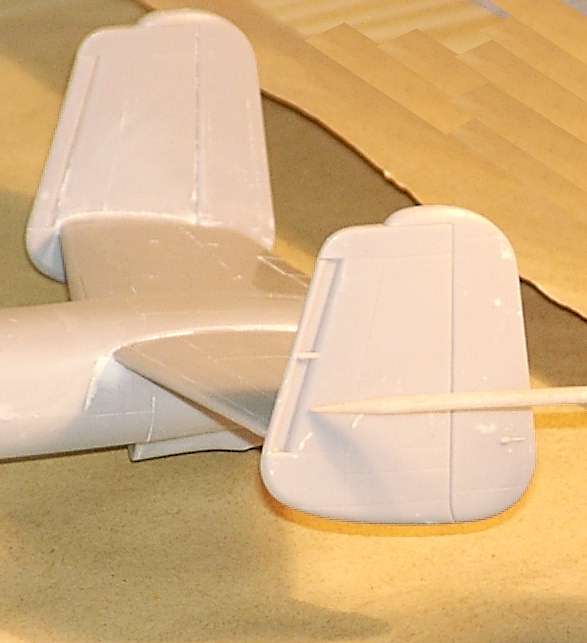
Tailplanes: There is a gap between the horizontal and vertical tailplane on the top side. I filled it with putty and it looked fine, but after one week there was a shrinking and the vertical surfaces fell to the middle. I had to break them again, replace them into a vertical position and to fill the gaps with superglue.
Spinners: They are too long (more than 1mm).
Text Copyright © 2000 by Andreas
Beck
| ||||||||||||

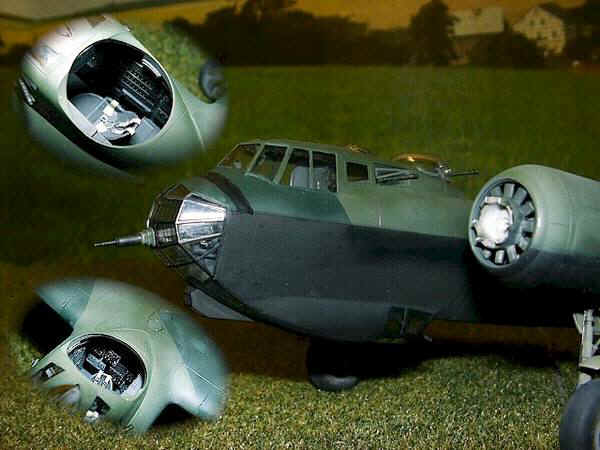
 I received three kits
of Revell-Monogram's new Dornier Do 217E-5 two weeks ago.
I received three kits
of Revell-Monogram's new Dornier Do 217E-5 two weeks ago.