|
Cutting Edge Modelworks
Reviewed by Brett Green
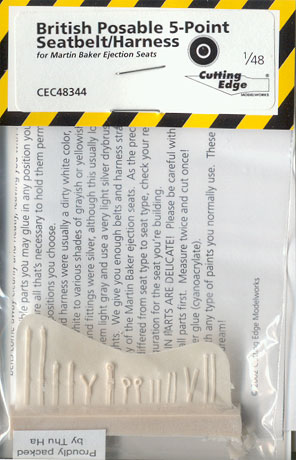
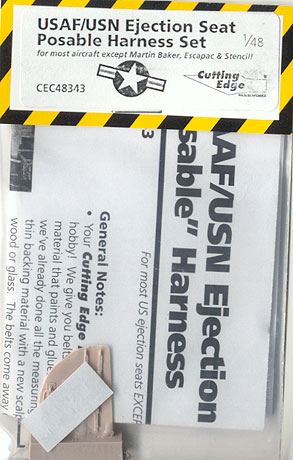
Cutting Edge has extended their new range of innovative flexible resin harnesses to cover ejection seats in 1/32 and 1/48 scale. As for the WWII harnsesses, these seat belts are moulded into the flexible sheet and must be carefully cut out before use. This will be a particular challenge for the smaller fittings, but I have included some suggestions below that I gleaned from using an early set of Luftwaffe harnesses on an earlier project. The following harnesses have been newly released:
All the belts of the harnesses in each set are cast on a single, small flexible resin sheet. The texture of the material is very much like calamari! General instructions for assembly and painting are included. Specific placement instructions are not supplied as there are many variations on the range of ejection seats covered. Good references will be essential. The detail on the belts is terrific. This is especially appreciated in 1/32 scale.
Removal and Assembly Hints After experimenting with a few methods, I eventually
decided to "chop" the resin with a short blade. First I cut horizontal
slices toward details that extended beyond the width of the straps (eg
buckles, connectors etc); then removed the belts by following their
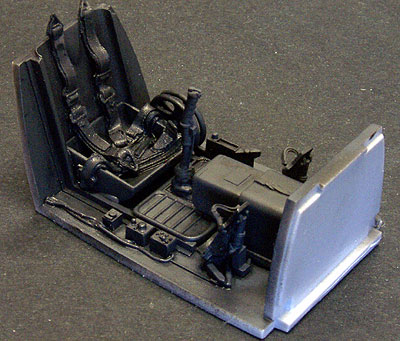
outline with a firm, downward chopping motion. These painting tips were developed from my experiences with the 1/32 scale set for Luftwaffe fighters, but the principles are exactly the same as for painting ejection seat harnesses. There are many techniques for painting harnesses, but I prefer to paint mine after they are assembled and in the completed cockpit. I start by painting the entire seat and harness black, making sure that the paint gets into every nook and cranny. This is followed by a couple of dusting coats of the cockpit colour. I try to shoot the paint from just one angle to represent light and shadow. With dark cockpit colours, I will often add a black oil wash to re-emphasise any shadows that have been obscured by the top coat.
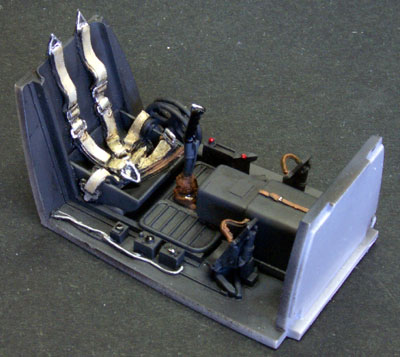
The harness is now ready to paint with a fine brush. For the 1/32 scale Bf 109 harness in this example, I used Tamiya XF-55 Deck Tan. When dry, I applied a liberal wash of Raw Sienna oil paint. I wiped the paint off the high points of the harness with my finger, then painted the buckles and connectors silver. The visible portions of the chafing pads were painted brown. Although the raw belts might look a little thick, careful painting really gives them a convincing, three-dimensional look.
It is great to see these innovative harnesses available in a range of scales and subjects. The detail and individual nature of the belts will be particularly obvious in 1/32 scale, but they will be very effective in 1/48 scale too. The additional detail and complexity in the harness arrangement of ejection seats will make the effort very worthwhile. Recommended. Thanks to Meteor Productions for the review samples. Cutting Edge Modelworks products are available from Meteor Productions WebsiteText and Images Copyright © 2002 by
Brett T. Green
|
||||||||||||||||||||||
 Posable Ejection Seat Harnesses
 The
resin is very elastic, so much so that it is tricky to "slice" in a
conventional way. The material tends to stretch as the blade is dragged
along the material even with a new knife.
The
resin is very elastic, so much so that it is tricky to "slice" in a
conventional way. The material tends to stretch as the blade is dragged
along the material even with a new knife.